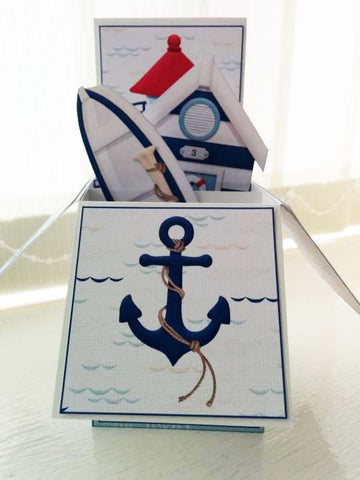
How To Make a Printable Pop Up Box Card
A Pop Up Box Card always looks so good it's easy to think they must be hard to make, but they're really not...and when you get everything you need in a kit that you can just print off, it's even better!
Please visit our new Pop Up Box Tutorial
This tutorial will show you how to make printable Pop Up Box Cards designed by Paper Creator, but the assembly is more or less the same for all our printable kits - some are designed with the pop up elements to be placed how you wish (as is the case here) while others have the elements already in place on the tabs.
You Will Need:
- White card that will go through your printer (see note below)
- Cutting tool - scissors or craft knife
- Scoring tool - something blunt e.g. old ballpoint pen, the edge of a ruler
- Glue, or double-sided tape
Inkjet printer paper and card: for this tutorial, the designer used 190gsm ICE Matte Photo Paper for all sheets (although I personally prefer 250g card for a sturdier box, and use regular inkjet paper for envelopes)
1: Print Out Your Pages
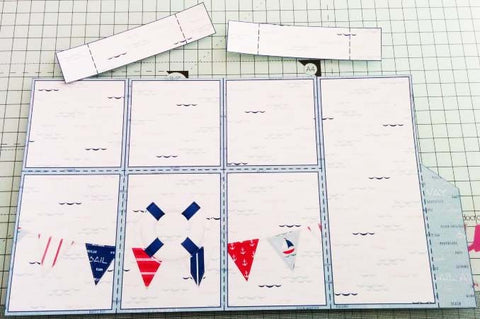
- Print out all the pages from your kit, using your best printer settings
-
Make sure to print the backing paper onto the back of the pop up box page
Check your printer for how to do this; with my HP Envy I can send the pages to print double-sided or just take the printed page out and put it back in with the printed side face up.
2: Score and Cut
- Before cutting out, make sure you score all dotted lines as indicated by the instructions on the base page since it's easier to do before you cut things up!
- Scoring helps to fold the card, and you can use a scoring/embossing tool, or even the end of a dried-up pen - just something to dent the card but not go through it.
- Once all scored, cut out all elements using scissors or a craft knife, as you prefer.
Step 3: Fold and Glue
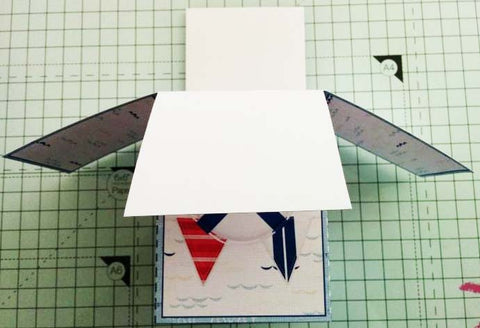
- Referring back to the instruction page make your cut lines into the pop up box base you just cut out: then fold all lines indicated with green.
- Apply glue or super sticky double-sided tape to the box tab and carefully line it up with the other side of the box.
- Fold down the flaps, and your box is made.
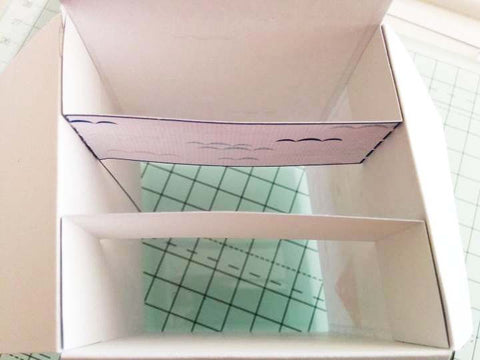
4: Insert Inner Tabs
- Apply glue to the folded ends of the inner tabs, and fix to the inside of your pop up box.
5: Attach 'Pop Up' Elements
- Attach your cut out elements as desired so that they appear to be popping out of the box and there you have it - you have just created a wonderful Pop Up Box Card!
- The card folds flat to fit in the envelope and delights the recipient when they open it up into its 3D shape
- If you embellish it even further with your own craft supplies - a bit of glitter is always required, somewhere, at least a little, in my book - then just be sure not to overload it at the back or it may not stand up.

Nautical Pop Up Box
Pop Up Box Cards are really popular because they are easy to make and look fantastic!
Plus, because our kits are printables, you can start making them as soon as they've been downloaded - and you can re-print them as often as you need to make them.
- Instantly available craft supplies: download and start making
- Easy to make, yet look amazing
- Print as many times as you need
- Great for group activities, kids crafts, and parties
- You can sell what you make for charity, craft fairs, etc.


