Making Christmas Wreaths in a Homeless Hostel
When you're homeless and living in temporary accommodation, you're not going to have much by way of Christmas decorations.
We wanted to run a class where people made something festive for their rooms. It had to be achievable and not involve fancy craft supplies beyond what you find in your average pound shop this time of year. It also had to cater for any number of people who might turn up to the class, with varying levels of interest in what you were wanting to make.
Christmas Wreaths Made from Printable Star Sheets

Not Your Average Craft Class
While craft classes may be more associated with older ladies in church halls, these craft classes were the complete opposite, and refreshingly so. I did not expect a room of mostly young men. Even though I knew there were more men than women at the supported housing scheme, I still expected women to come to the class. I was really surprised.
I suspect the marshmallow-laden hot chocolate and free cake has a lot of pulling power, but a few hours messing around is better than nothing, giving them something to do and a feeling of being "back at school" - they say that the success of adult colouring books is due to people reverting back to the simple activities of being a kid, and I reckon it's the same for glitter and glue!
Making a Christmas Star Wreath
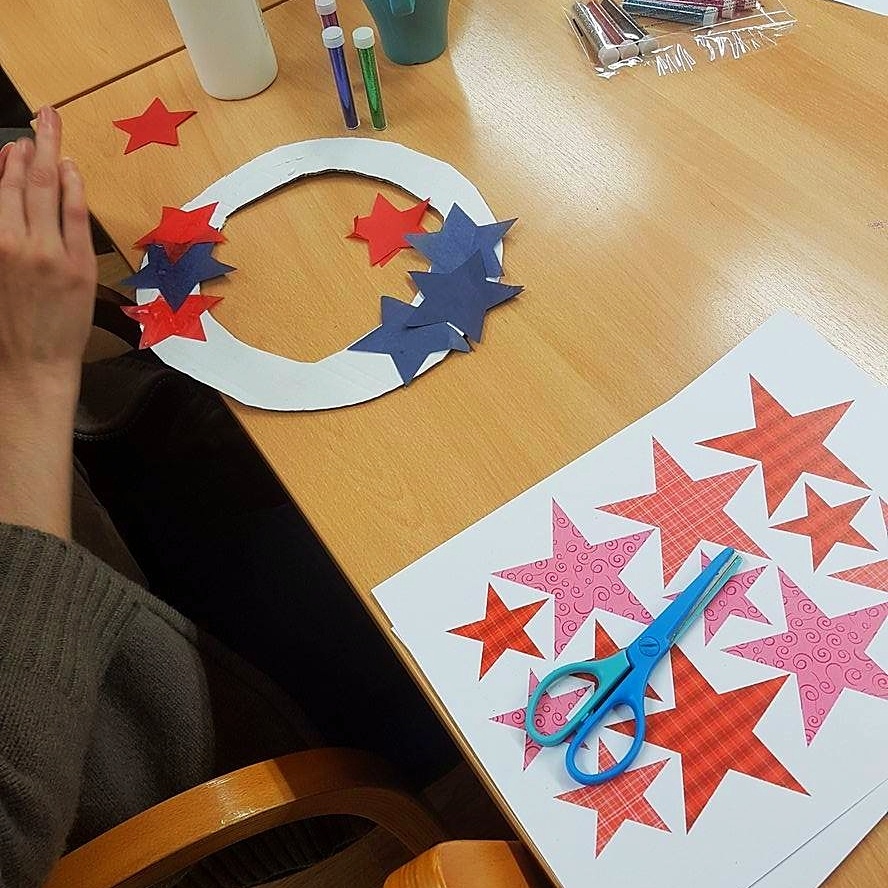
Crafting on a budget requires being resourceful; we managed to make our start wreaths using the following craft supplies:
- Cardboard ring base, cut from old boxes
- Printable sheets of colourful stars
- Ribbon or String
- Glue PVA, Glue Stick etc
- Scissors and Ruler/Straight Edge
- Pen/Pencil
- Crafty bits for decoration e.g. gems, buttons, googly-eyes, pom-poms
- Glitter powder, or glitter glue
- Small paint brushes (optional)
- Scoring tool, e.g. old empty pen (optional)
- Glitter card, Mirror Card (optional: donated)
- Tissue paper (optional: donated)
How to Make the Wreath
1. Use a plate or circular object to mark out a ring on a piece of waste cardboard e.g. cereal box, delivery packaging.
2. Cut out the circle, then bend in half to cut out a smaller, inner circle, leaving a ring about 1 inch thick
3. Cut out stars from the printable sheets, large and small
💡 Noticing that the sheets are all made with the same template, a class member realised that as long as you have them all lined up you *should* be able to cut at least 2 sheets of them together, depending on the quality of your scissors and being able to keep the sheets lined up together.
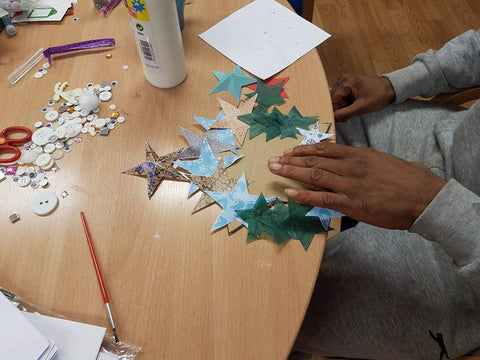
4. Apply glue to the card base and stick smaller stars all around, overlapping each other and the edge of the ring to cover the base.
💡 To save time and make lots of stars at once for basic coverage, we used tissue paper and a template: fold a piece of tissue paper into the size of a phone and use a small star template to cut out your shape. This gives you lots of stars all ready at once. If you don't have tissue paper, try a couple of sheets of folded thin paper, but it might be harder to cut especially if you are restricted to safety scissors.
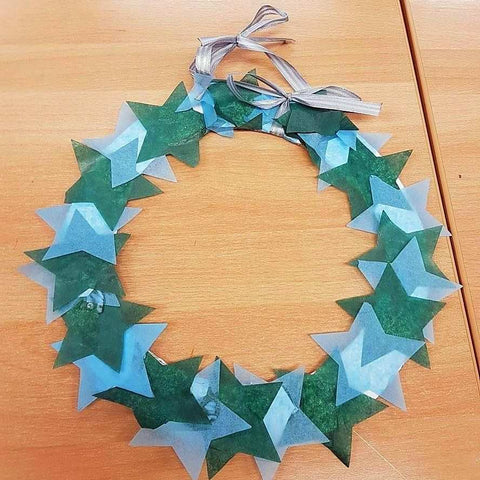
5. Add a piece of ribbon, tied around the ring and then into a hoop for hanging.
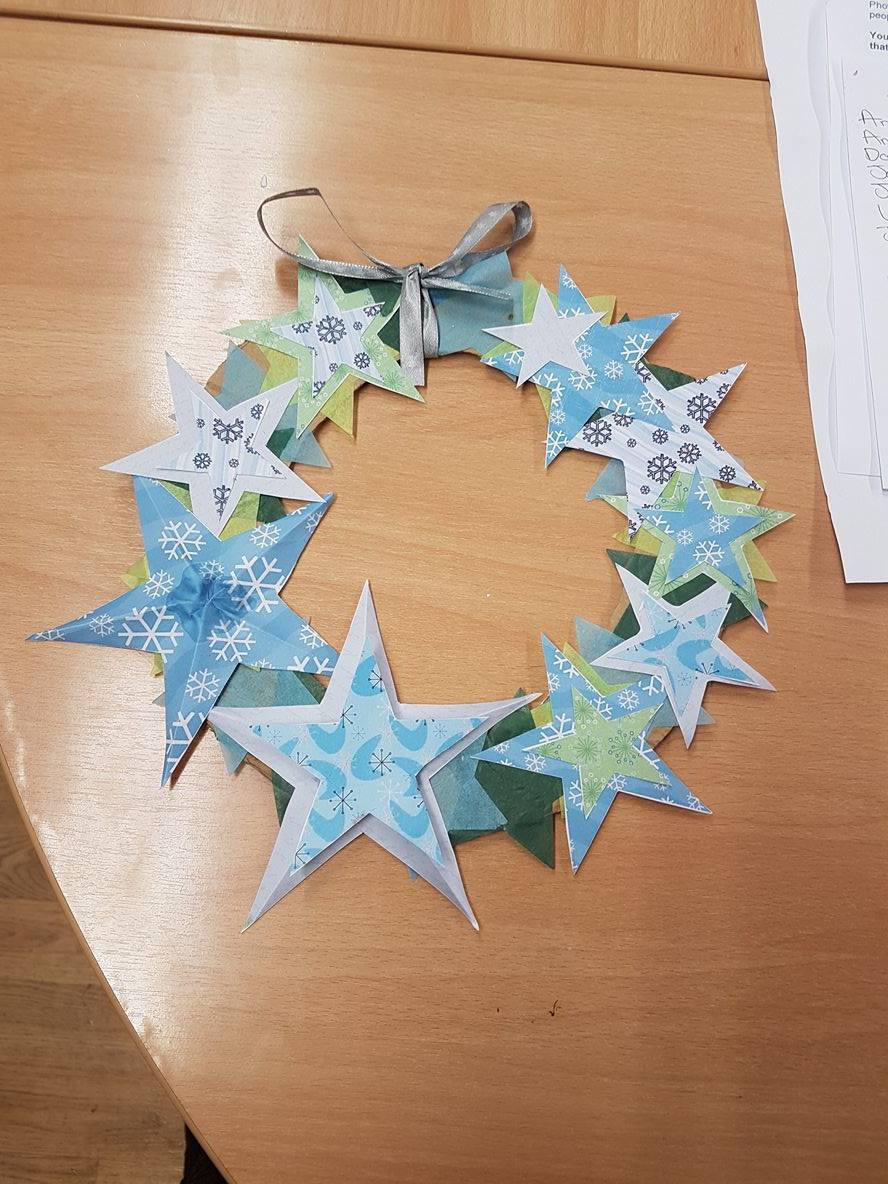
6. Add more layers using the cut-out printable stars - the larger stars can be made 3D for extra dimension.
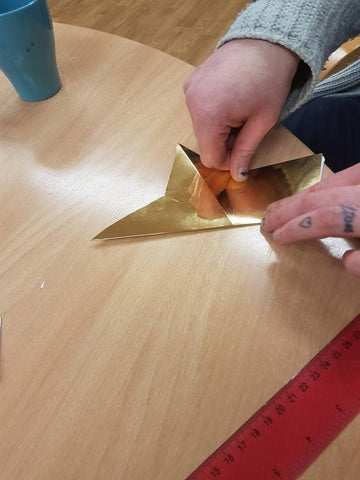
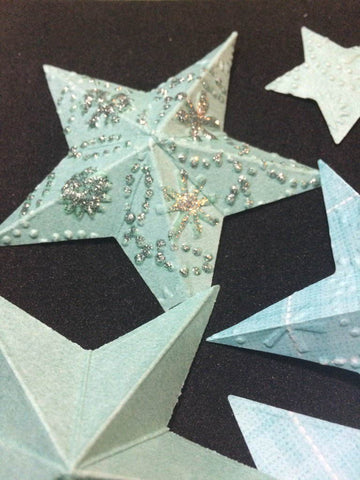
How to Make a 3D Star
Using a scoring tool or an old ballpoint pen: on the back of your star, use a ruler or other straight edge to score a line from point to point on each 'arm' of the star i.e. from the top point down to the opposite point. You could also score with a pencil or working pen, as long as it didn't go through the paper.
💡 No scoring tool? Just fold over each arm to its opposite arm and crease.
Once all the arms of the star have got score lines, fold them over to make creases. Once that's done you have a 3D star. You can give it even more shape and sturdiness by gathering all the arms together and creasing again.
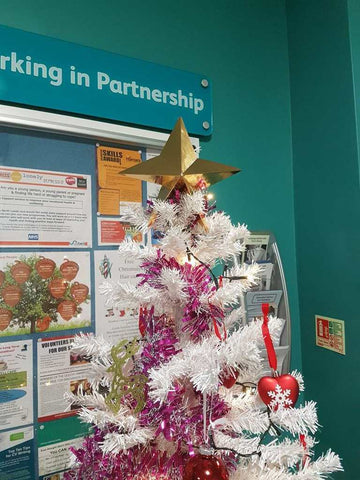
This star went on the Christmas tree, but the mini ones looked amazing on the wreaths.
7. When you've got your 3D stars made, stick them onto your star-covered ring - if you are using powdered glitter rather than glitter glue do that now, before sticking them on your wreath e.g. use a small paintbrush to apply PVA glue on the edges of your stars, along the creases or following a pattern on the paper, then adding glitter powder.
💡 One of the class members noted that it's easier to stick these 3D stars to your wreath if you glue some screwed up paper/tissue paper into the star, and then glue that onto the ring, as it helps maintain the shape and gives a greater surface to stick with.
8. If you have any 'extra special' papers, a few 3D stars made from glitter card or silver and gold mirror card will make it extra festive.
9. Sometimes the ink will come off the card stars where they've been creased and folded, this creates a rustic, weathered look on it's own or you can paint over these bare creases with PVA and glitter them up.
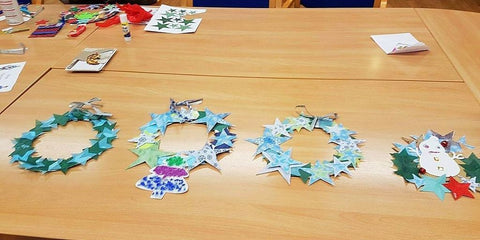
10. Once you have all your stars in place on your wreath you can embellish as you please, adding crafty bits such as gems, pompoms, ribbon etc.

Crafting for Social, Emotional & Mental Wellbeing
As a creative social enterprise, our aim is to use crafting as a medium for wellbeing and social inclusion - or in other words using crafts as a way to have a bit of fun and socialise for those who could really do with it, but can't afford it.
Our first experience of supporting community craft sessions was at a sheltered housing scheme for homeless people with complex needs, where we took along printable craft activities.
Perhaps sticking paper stars to a cardboard ring is the last thing young men would like to do, given more options, but in their current situation, living in temporary supported housing for the homeless, at least this filled a couple of hours on an otherwise uninspiring weeknight and some enjoyed their time so much they were still finishing off when I had to leave!